
Setup & Configuration
Item CSV Import
The Item CSV Import is a powerful bulk-loading tool that creates items from a comma-separated file. It auto-creates departments, sub-departments, and vendors that don't already exist, making it ideal for importing an entire product catalog from an external system in a single operation. For a complete walkthrough, see the Quasar Guide. Access from Inventory › Item File Import.
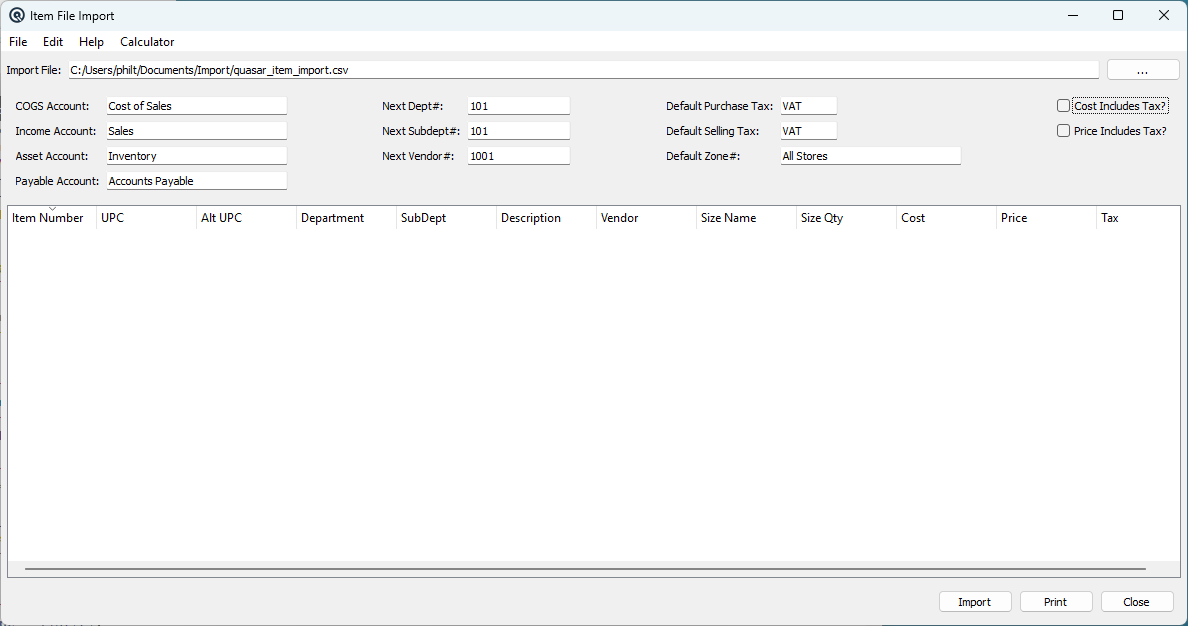
Configuration Fields
|
All configuration fields must be set before importing. These provide the defaults and account mappings for every item created. Import FilePath to the CSV file to import. Use the ... browse button or press F9 to select a file. COGS AccountDefault Cost of Goods Sold (expense) account for imported items. Income AccountDefault sales income account. Asset AccountDefault inventory asset account. Payable AccountDefault accounts payable account (used when auto-creating vendors). Next Dept#Starting number for auto-created departments. Increments for each new department. Next Subdept#Starting number for auto-created sub-departments. Next Vendor#Starting number for auto-created vendors. Default Purchase TaxFallback purchase tax when the CSV tax field does not match an existing tax code. Default Selling TaxFallback selling tax when the CSV tax field does not match. Default Zone#Price zone for the imported item prices. Required. Cost Includes Tax?Check if the cost values in the CSV already include tax. Price Includes Tax?Check if the price values in the CSV already include tax. |
CSV File Format
|
The CSV file must contain exactly 13 fields per line, comma-separated. Fields containing commas must be quoted (single or double quotes are supported).
|
Auto-Creation Logic
|
The import automatically creates supporting records when they don't exist: • Department — Created using the name from the CSV and the next available department number Each item is stocked in all active stores with minimum/maximum quantities of 1. |
Import Results Log
|
Successfully imported items appear in the list view with their details:
Duplicate items and auto-created records are reported in a separate messages window at completion. |
Actions
|